Introduction
Hi, it’s been a while since the last time I updated this blog. This post is all about my experience, comments, and details about the SL final project.
So, in this project, we’re using CodeIgniter for our PHP framework. It has easy learning curve and complete documentation. The feature is quite rich and simple to use. You should check out CodeIgniter framework for doing project like this. However, if you need more complex feature than CodeIgniter, Laravel may be more suitable for you. Before continuing, check out our app introduction video.
Teams
- Anthony Prasetyo: DB Design, App Workflow, etc.
- Rahadian Adinugroho: Back end programmer, DB Design, scripting, etc.
- Raymond Haryanto: Front end programmer, DB Design, scripting, etc.
Stacks
For the back end development, we are using Windows and the easiest way to develop PHP in Windows are using XAMPP environment. So, the server app is Apache, database is MySQL, and the language is PHP with CodeIgniter framework. So, WAMP stack it is. BTW, the CodeIgniter version is 3.0.6 which is the latest as of the writing of this post.
Layout
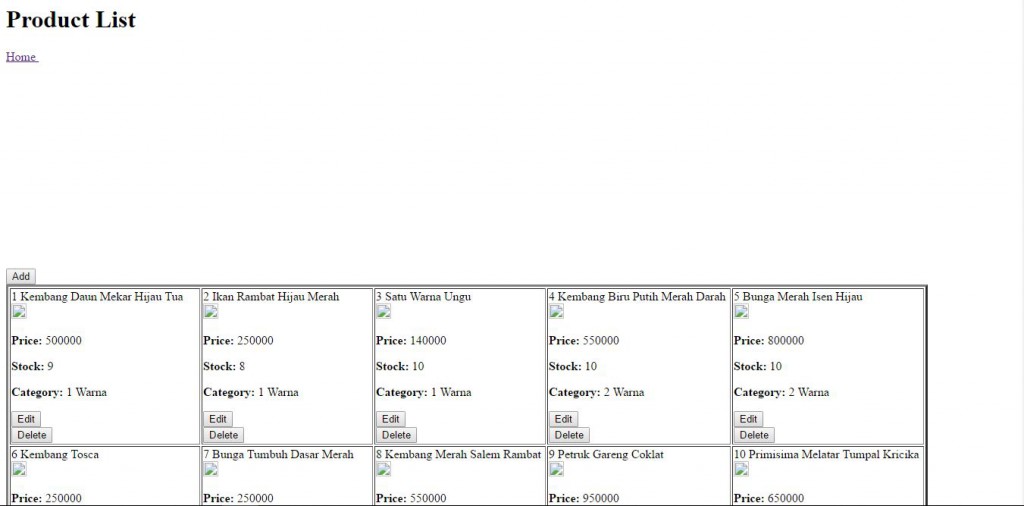
My responsibility in this project was to create the back end (CMS) and also connect it to the front end (which is the job of Raymond Haryanto). At first, there’s no design or whatsoever in the CMS, it’s just a blank white with ugly design with some text pasted on it 🙂
After some considerations and some more learning, I finally decided to use a template from the web to improve the UI of our CMS. The name of the template is CMS Metro but I forgot where I found it. It totally transform my crappy CMS.
Every page in the CMS are splitted into three parts. The header, content, and footer. The header contains the Meta, CSS, Sidebar and so on. The content contains the breadcrumb and the content. The footer is just a footer and the scripts declaration.
Features
Product
Add Product
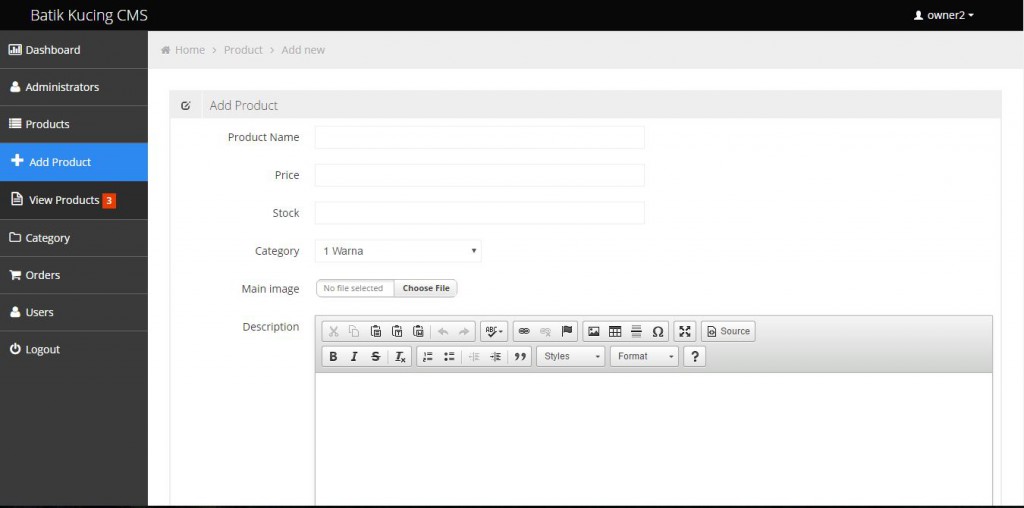
In this page, you can add more product to show on your front end. There are several field that you have to fill such as the product name, price, stock, category, the cover image (optional), and description (optional).
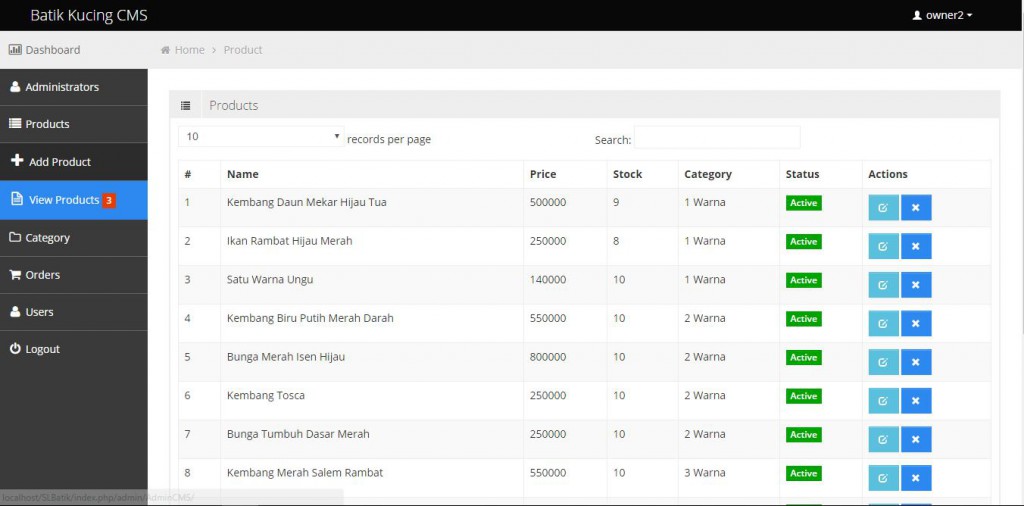
View Product
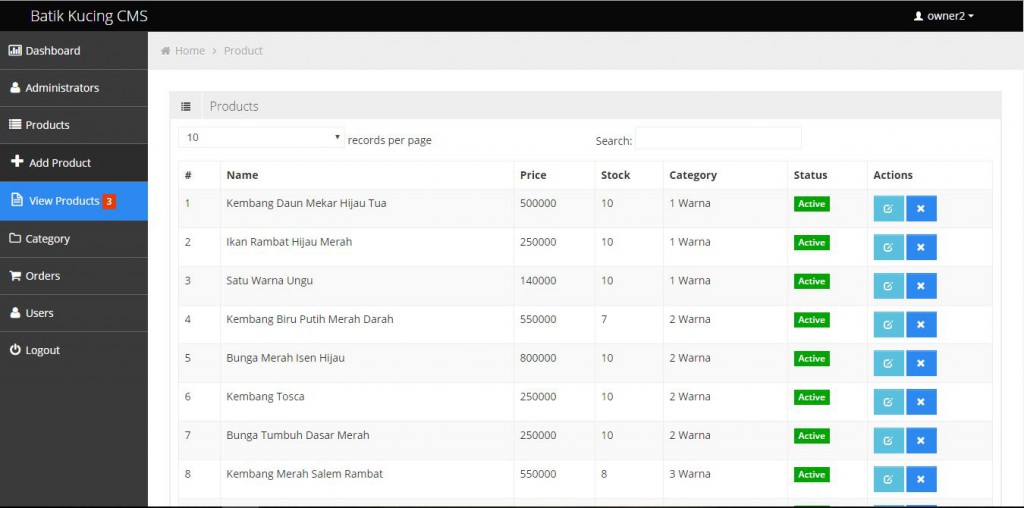
In this page, you can view and search all product and choose to edit it or deactivate it to hide the product in the front end. The edit page layout is similar to add product page.
Edit Product
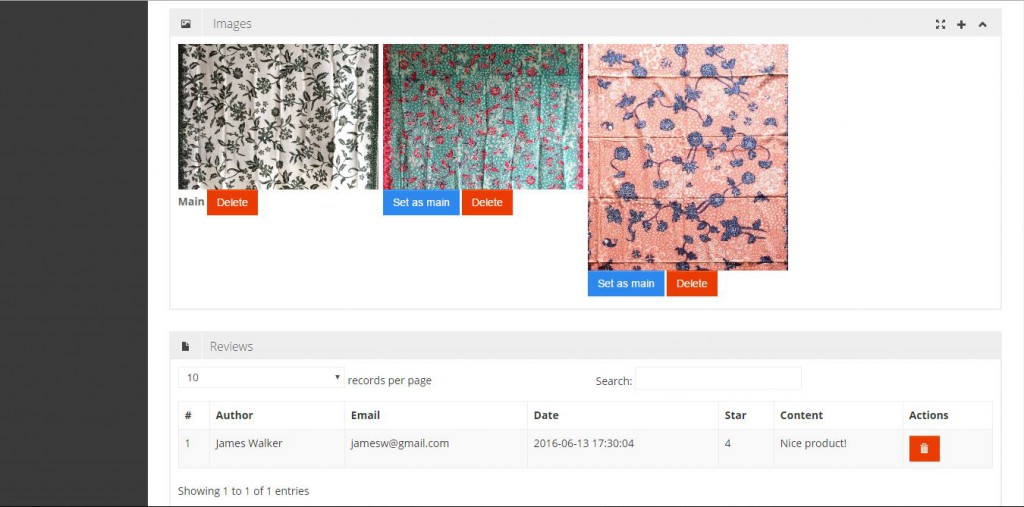
The upper part of the edit product page is similar to add new product page. However, there is an addition of product images where you can set a picture as cover image, add more image for this product, or delete an image (our front end doesn’t support multiple image yet). In the bottom part there is review from the users. The admin can only delete the review.
Category
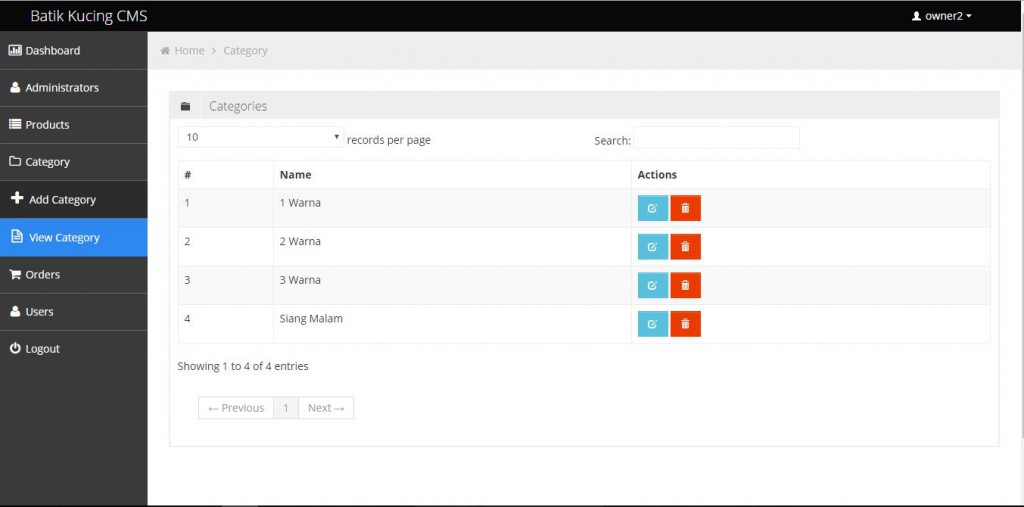
You can add more category, and edit the category title. You cannot delete a category except there is no product under that category.
Orders
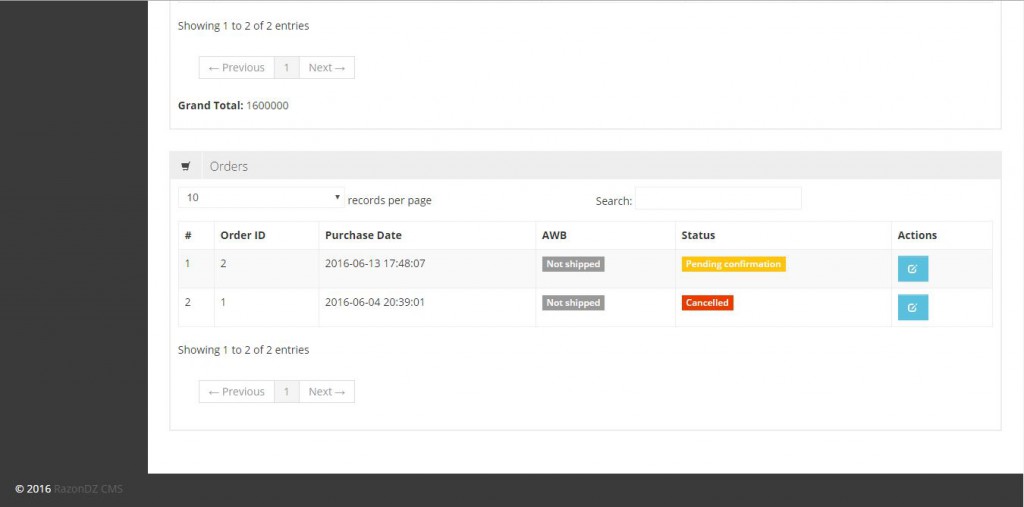
All Orders
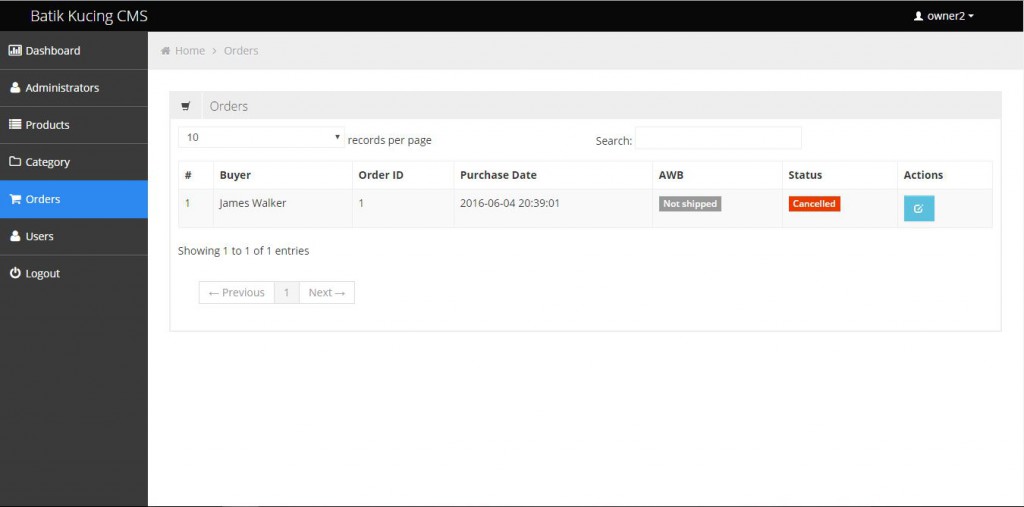
In this page, you can see the list of all orders and its current status. There are several status which is Not Paid, Pending Confirmation (payment confirmation needed by admin), Paid, Shipped, and Cancelled.
Order Details
In this page, you can see the detailed information of an order. There’s 3 sections in this page, Order Details, Order Items, and Payment Details.
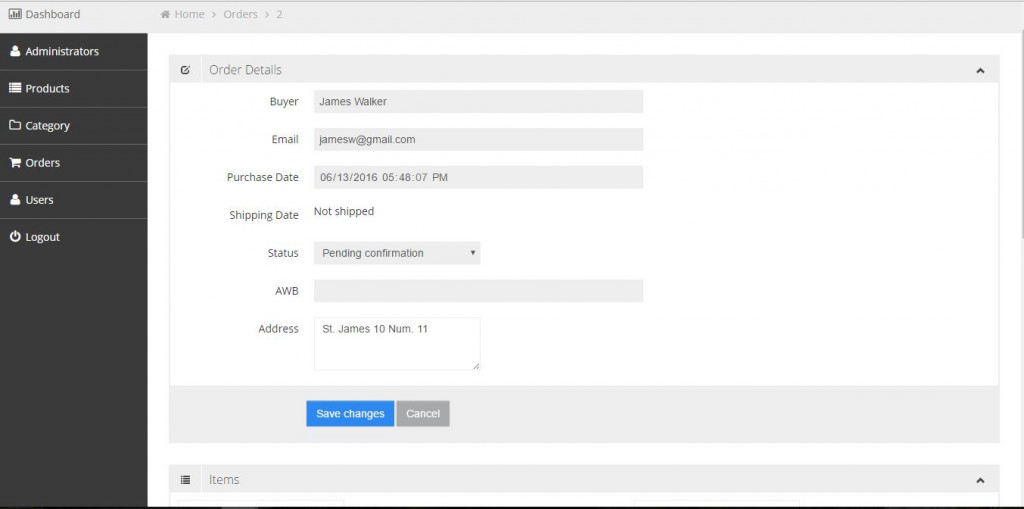
On the first section, you can see the orders data such as buyers name, purchase date, status, and shipping address.
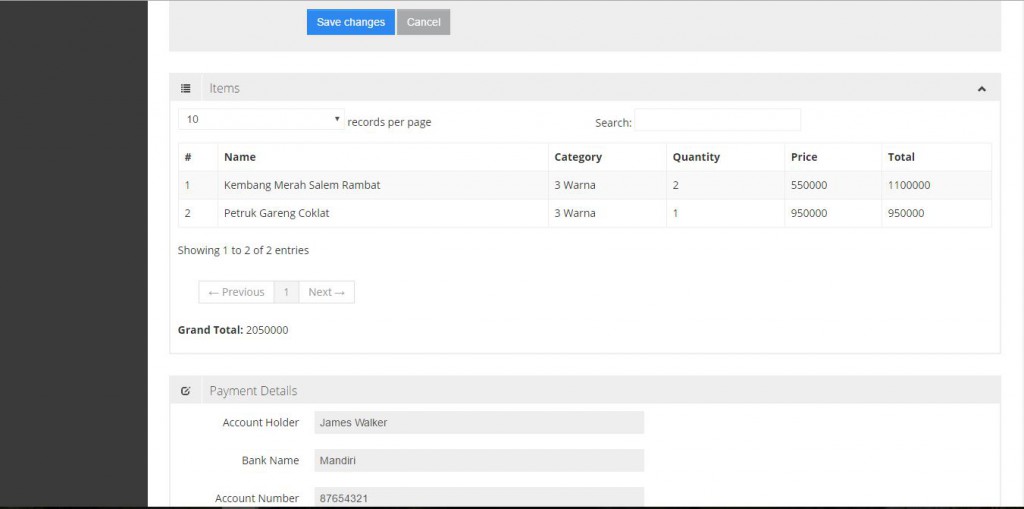
On the second section, you can see the order items, quantity, price when the order was placed, total price (quantity x price), and grand total.

On the third section, if the buyer has submitted the payment details, it will shows the payment information such as Bank Name, Account Holder, Account Number, Transfer Amount, etc. The admin can confirm the payment data and change the order status into ‘Paid’.
The details of the order status are:
- ‘Not paid’: When the order is placed. The user or admin may manually cancel this order.
- ‘Pending confirmation’: The buyer has submitted the payment details and the admin are yet to confirm this payment details. Status will change into this automatically.
- ‘Paid’: The admin have confirmed the payment but haven’t shipped the order yet. Status will change into this automatically after admin confirmed the payment details.
- ‘Shipped’: The admin have to change the order status manually to ‘Shipped’ and fill the AWB field as a proof of shipping. Admin CANNOT change the shipping address after this status but may change the AWB number in case of mistyping or another reasons. This status is final.
- ‘Cancelled’: Either admin or user has cancelled this order. Nothing can be edited in this status and this status is final.
Please note that product’s stock will be deducted after the buyer have submitted the payment confirmation. If the stock is less than order’s quantity, the app will not accept the payment and the user will be asked to contact the admin for solution.
users
All Users
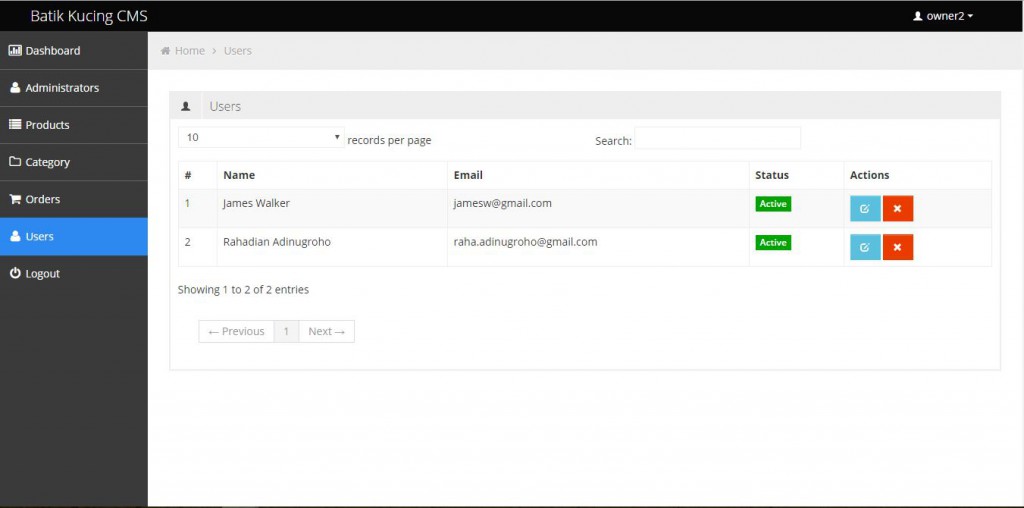
This page contains the list of all users. The status column may contain ‘Active’ or ‘Banned’. The admin may ban or unban user by using the button in the Actions column.
User Details
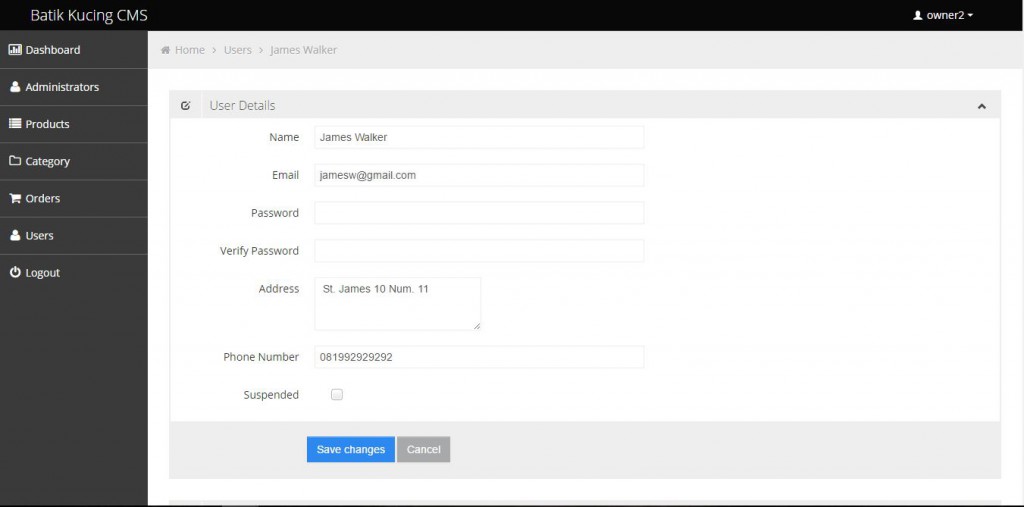
On the first section of user details page, the admin can edit the data of the user. They can change the name, email, password, address, phone number, and ban status. There’s no way to recover lost password since the password are asymmetrically crypted in the database.
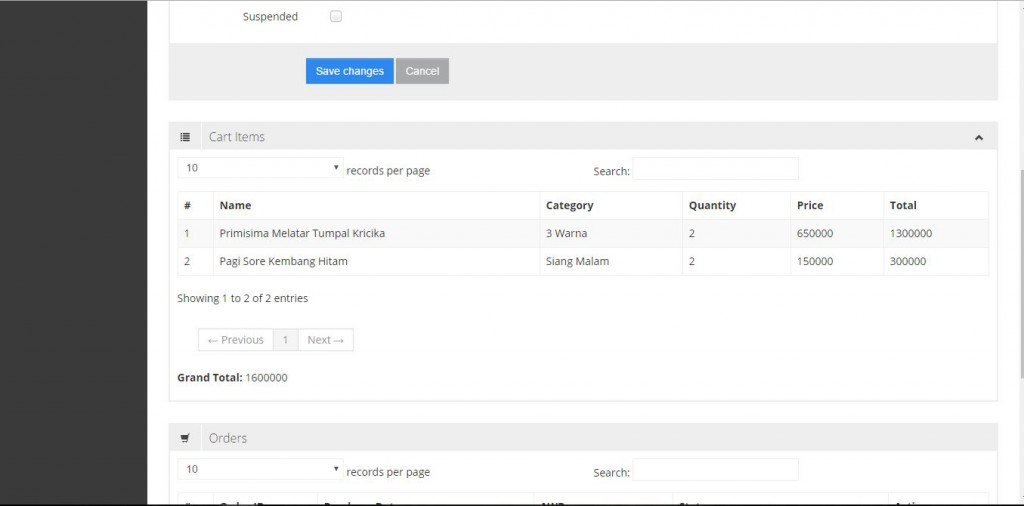
The second section contains the list of items inside the user’s current cart.
The third section of the page contains the list of orders made by user and some of its details such as the date, AWB, and status. The admin can click the button in the Actions column to see the details of that particular order.
Security
For the security of our project, every request made into the server are authenticated with CSRF token. This will prevent anyone that tries to do something malicious to us and/or our users by using Cross Site Request Forgery attack. Also, most database query are using CodeIgniter’s active record for enhanced security and automatic variable escaping. In standard query, the variables are also escaped using CodeIgniter’s function. Hopefully, this practice will reduce the risk of SQL injection attack.